In this article, I will take you through the steps by which we can add the new raw BLock Sotrage.
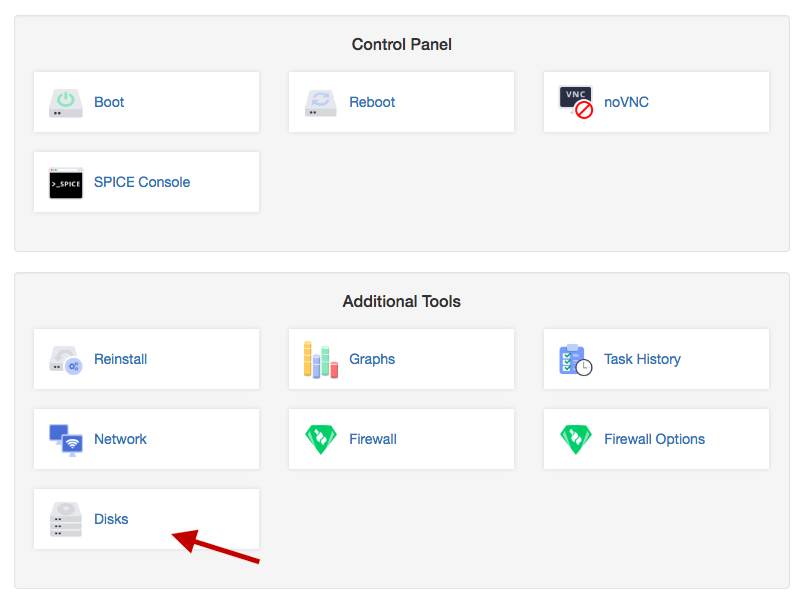
1 - Go to Client Area >> Services >> My Services >> View details >> Disk
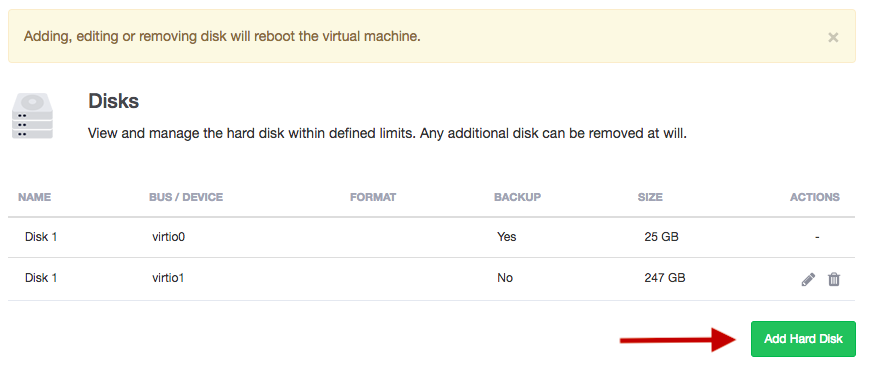
1 - Press Add Hard Disk
1 - Go to Client Area >> Services >> My Services >> View details >> Disk
1 - Press Add Hard Disk
1 - Move the Silder to choose how much Space want to add
2 - Choose the Device ( Virtio Recommanded & SATA for Windows & SCSI )
3 - Choose File format ( RAW & Qcow2 Recommanded for snapshots & vmdk )
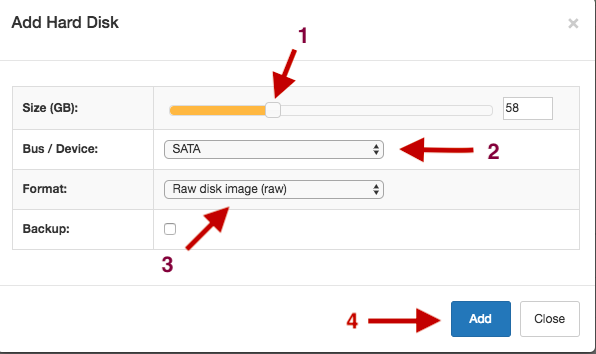
Done !
Please following to partition this Disk >> https://my.letbox.com/knowledgebase.php?action=displayarticle&catid=2&id=57
Please following to partition this Disk >> https://my.letbox.com/knowledgebase.php?action=displayarticle&catid=2&id=57
